This Christmas Red Velvet Cheesecake is creamy, velvety, and just the right amount of festive. It’s a showstopper without being fussy, and it tastes as good as it looks. Think classic red velvet flavor folded into a smooth cheesecake, topped with whipped cream and a touch of sparkle.
If you want a dessert that feels special but doesn’t require pastry chef skills, this is it. You’ll get clear steps, smart tips, and a dessert that won’t disappoint.
What Makes This Recipe So Good
- Stunning holiday color: That deep red against snowy topping looks incredible on a Christmas table.
- Texture perfection: Silky cheesecake filling meets a buttery chocolate cookie crust.
- Balanced flavor: Cocoa and vanilla give classic red velvet vibes while tangy cream cheese keeps it from being too sweet.
- Make-ahead friendly: Cheesecake needs chill time, so it’s ideal for prepping a day or two in advance.
- Beginner-friendly method: No water bath required if you follow the tips to minimize cracking.
Ingredients You’ll Need
- For the crust:
- 2 cups chocolate cookie crumbs (Oreos without filling or chocolate wafer cookies)
- 6 tablespoons unsalted butter, melted
- 2 tablespoons granulated sugar
- Pinch of salt
- For the cheesecake filling:
- 24 ounces (3 blocks) cream cheese, softened to room temperature
- 1 cup granulated sugar
- 3 large eggs, at room temperature
- 1/2 cup sour cream, at room temperature
- 1/2 cup buttermilk, at room temperature
- 2 teaspoons pure vanilla extract
- 2 tablespoons unsweetened cocoa powder
- 1–2 tablespoons red gel food coloring (start with 1, add more for deeper red)
- 1 tablespoon cornstarch (for structure)
- 1/4 teaspoon fine salt
- For the topping (optional but recommended):
- 1 cup heavy whipping cream, cold
- 2 tablespoons powdered sugar
- 1/2 teaspoon vanilla extract
- Festive sprinkles, white chocolate curls, or crushed peppermint for garnish
How to Make Christmas Red Velvet Cheesecake
- Prep the pan and oven: Preheat to 325°F (163°C). Line the bottom of a 9-inch springform pan with parchment and lightly grease the sides.
- Make the crust: Combine cookie crumbs, melted butter, sugar, and salt until it resembles damp sand.Press firmly into the bottom and slightly up the sides of the pan. Bake for 8 minutes, then cool while you make the filling.
- Beat the cream cheese: In a large bowl, beat softened cream cheese on medium speed until smooth and fluffy, about 2 minutes. Scrape the bowl well.
- Add sugar and dry mix: Add granulated sugar, cocoa powder, cornstarch, and salt.Mix on low until combined, then medium until silky. Scrape the bowl again.
- Blend in wet ingredients: Add sour cream and vanilla; mix on low just until incorporated. Add buttermilk and mix briefly.Beat in eggs one at a time on low, just until combined. Avoid overmixing to reduce air bubbles.
- Color it red: Add red gel food coloring until you reach a deep, festive red. Start with 1 tablespoon and adjust as needed.Mix gently to avoid adding extra air.
- Fill and smooth: Pour the batter over the crust. Tap the pan on the counter 4–5 times to bring air bubbles to the surface. Pop visible bubbles with a toothpick.
- Bake low and slow: Bake at 325°F (163°C) for 55–70 minutes.The edges should be set and the center slightly wobbly, like Jell-O. If browning too quickly, tent loosely with foil.
- Cool gradually: Turn off the oven, crack the door, and let the cheesecake rest inside for 45 minutes. Then remove and cool on a rack until room temperature.
- Chill to set: Cover and refrigerate for at least 6 hours, preferably overnight.This step is essential for clean slices and the best texture.
- Whip the topping: Beat cold cream, powdered sugar, and vanilla to soft peaks. Pipe or spread over the chilled cheesecake. Add festive sprinkles or white chocolate curls.
- Slice smart: Run a sharp knife under hot water and wipe dry between cuts for picture-perfect slices.
Keeping It Fresh
- Refrigerate: Store covered in the fridge for up to 5 days.Keep garnishes off until serving to maintain texture.
- Freeze: Chill the baked cheesecake without topping, then wrap tightly in plastic and foil. Freeze up to 2 months. Thaw overnight in the fridge before topping.
- Transport tip: Keep it cold in an insulated bag with ice packs.Add whipped cream and sprinkles at the destination.

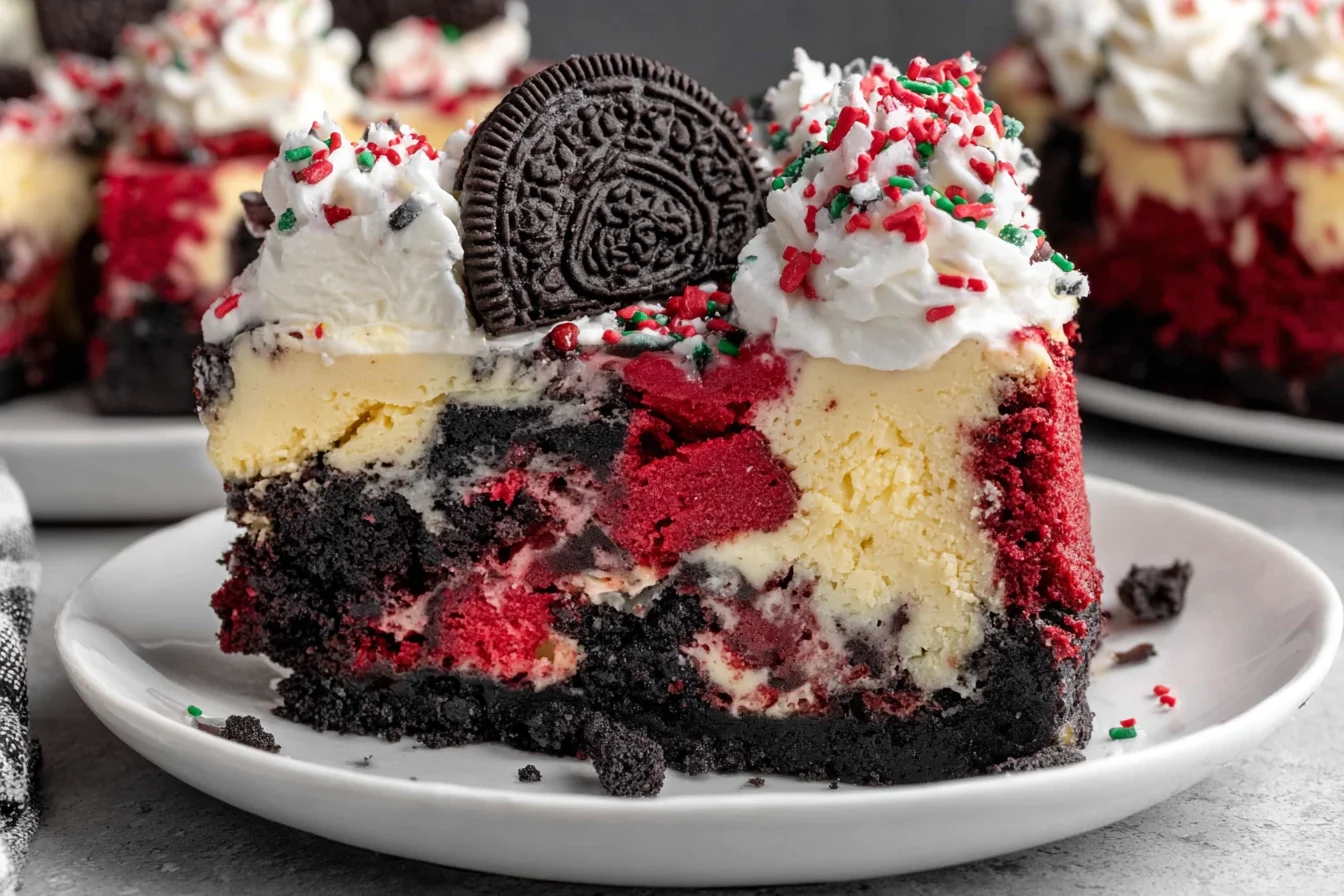
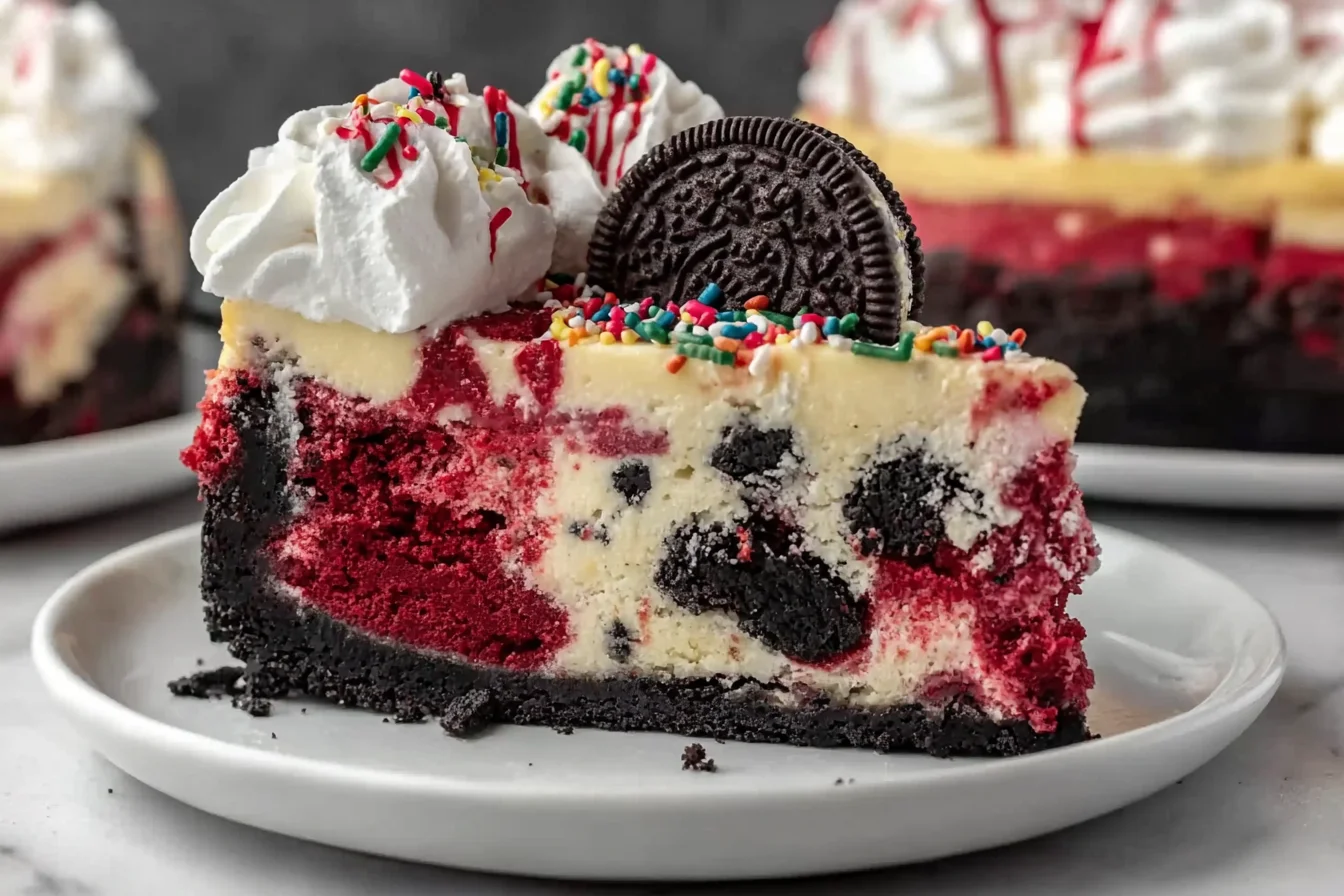
A decadent Christmas Red Velvet Cheesecake topped with whipped cream, Oreo cookies, and colorful sprinkles — the perfect holiday dessert for Christmas celebrations.
Benefits of This Christmas Red Velvet Cheesecake
- Festive look, minimal fuss: You get a holiday showpiece without advanced techniques.
- Consistently creamy: Buttermilk and sour cream create a smooth, lush texture.
- Make-ahead convenience: Preps days in advance, freeing you up on party day.
- Balanced sweetness: Tangy cream cheese keeps it from feeling heavy.
- Customizable: Works with different crusts, toppings, and flavor twists.
Common Mistakes to Avoid While making Christmas Red Velvet Cheesecake
- Cold ingredients: Using cold cream cheese or eggs leads to lumps and overmixing. Bring everything to room temperature.
- Overmixing: Too much air causes cracks. Mix on low and scrape the bowl often.
- Overbaking: If the center is fully firm in the oven, it’s overdone.A slight wobble is perfect.
- Skipping the cool-down: Rapid temperature changes cause cracks. Cool gradually in the oven, then on the counter.
- Too little color: Liquid food coloring can water down the batter. Use gel for a rich red without altering texture.
Recipe Variations
- White chocolate swirl: Melt 4 ounces white chocolate and swirl into the top of the batter before baking.
- Peppermint crunch: Add 1/2 teaspoon peppermint extract to the filling and garnish with crushed candy canes.
- Graham-pecan crust: Swap chocolate cookies for 1 1/2 cups graham crumbs plus 1/2 cup finely chopped pecans.
- Mini cheesecakes: Bake in a lined muffin tin for 18–22 minutes.Great for parties and easy sharing.
- Chocolate ganache topping: Pour a thin layer of warm ganache over the chilled cake, then add sprinkles for sparkle.
- Gluten-free: Use gluten-free chocolate cookies and verify extracts are GF.
- No-bake shortcut: Use a no-bake crust and a gelatin-stabilized red velvet mousse if you’re avoiding the oven.
FAQ About Christmas Red Velvet Cheesecake
Do I need a water bath?
A water bath helps prevent cracks but isn’t strictly necessary here. With room-temperature ingredients, low mixing speed, and a gentle cool-down, you’ll get a smooth top without the hassle.
How do I fix a crack?
If a crack appears, don’t stress. Chill the cake, then cover with whipped cream, ganache, or festive sprinkles.
The flavor and texture will still be spot-on.
Can I use liquid food coloring?
You can, but it may thin the batter and mute the color. Gel food coloring gives a stronger red with less liquid, which keeps the texture creamy.
What if I don’t have buttermilk?
Use whole milk mixed with 1 teaspoon white vinegar or lemon juice. Let it sit for 5 minutes, then use as directed.
The tang won’t be quite the same, but it works well.
How will I know it’s done?
The edges should be set and the center should jiggle slightly when you nudge the pan. If it ripples like liquid, bake a few minutes more. If it’s rigid, it’s overbaked.
Can I make it the day of my party?
Yes, but start early.
It needs at least 6 hours to chill and set, and overnight is even better for clean slices and developed flavor.
What size pan works best?
A 9-inch springform pan is standard. An 8-inch pan will make a taller cheesecake and may need extra baking time. Keep an eye on the center jiggle.
Conclusion
This Christmas Red Velvet Cheesecake delivers bold holiday color, creamy texture, and a flavor that guests remember.
With a simple method and smart tips, it’s reliable and party-ready. Make it ahead, slice it clean, and add a festive flourish on top. It’s a merry centerpiece that tastes as luxurious as it looks.
You May Also Enjoy These Delicious Finds
If you loved this festive Christmas Red Velvet Cheesecake, here are a few more comforting and creative ideas you might want to explore next. They’re perfect for cozy baking days, holiday planning, or simply adding new flavors to your kitchen:
- Keep your ingredients fresher for longer with this super helpful guide on how long beans last in the fridge — perfect if you’re stocking up for holiday cooking.
- Craving something warm and creamy for colder days? This Slow Cooker Creamy Chickpea Masala Bliss is cozy, comforting, and ridiculously satisfying.
- Want to try a unique bake that’s surprisingly delicious? This Blueberry Lentil Bread Recipe might just become your new favorite breakfast treat.
- And if you’re in the mood to discover even more creative kitchen inspiration, check out this collection of Versatile Pulses & Delicious Nutritious Recipes — full of ideas to spark your next cooking adventure.