Making sweet treats in your kitchen is comforting, bringing back childhood memories. Imagine mixing creamy peanut butter with sweet confectionery. Butterfinger balls are a no-bake dessert that satisfies your sweet tooth and brings back simpler times. This easy dessert recipe is simple, making it great for bonding with loved ones.
Table of Contents
These delightful morsels are perfect for enjoying at home or sharing with friends. They will quickly become a favorite in your household.
Exploring this world of creativity and sweetness, you’ll find making butterfinger balls is more than a recipe. It’s an experience that combines taste and togetherness.
How to Make Irresistible Butterfinger Balls
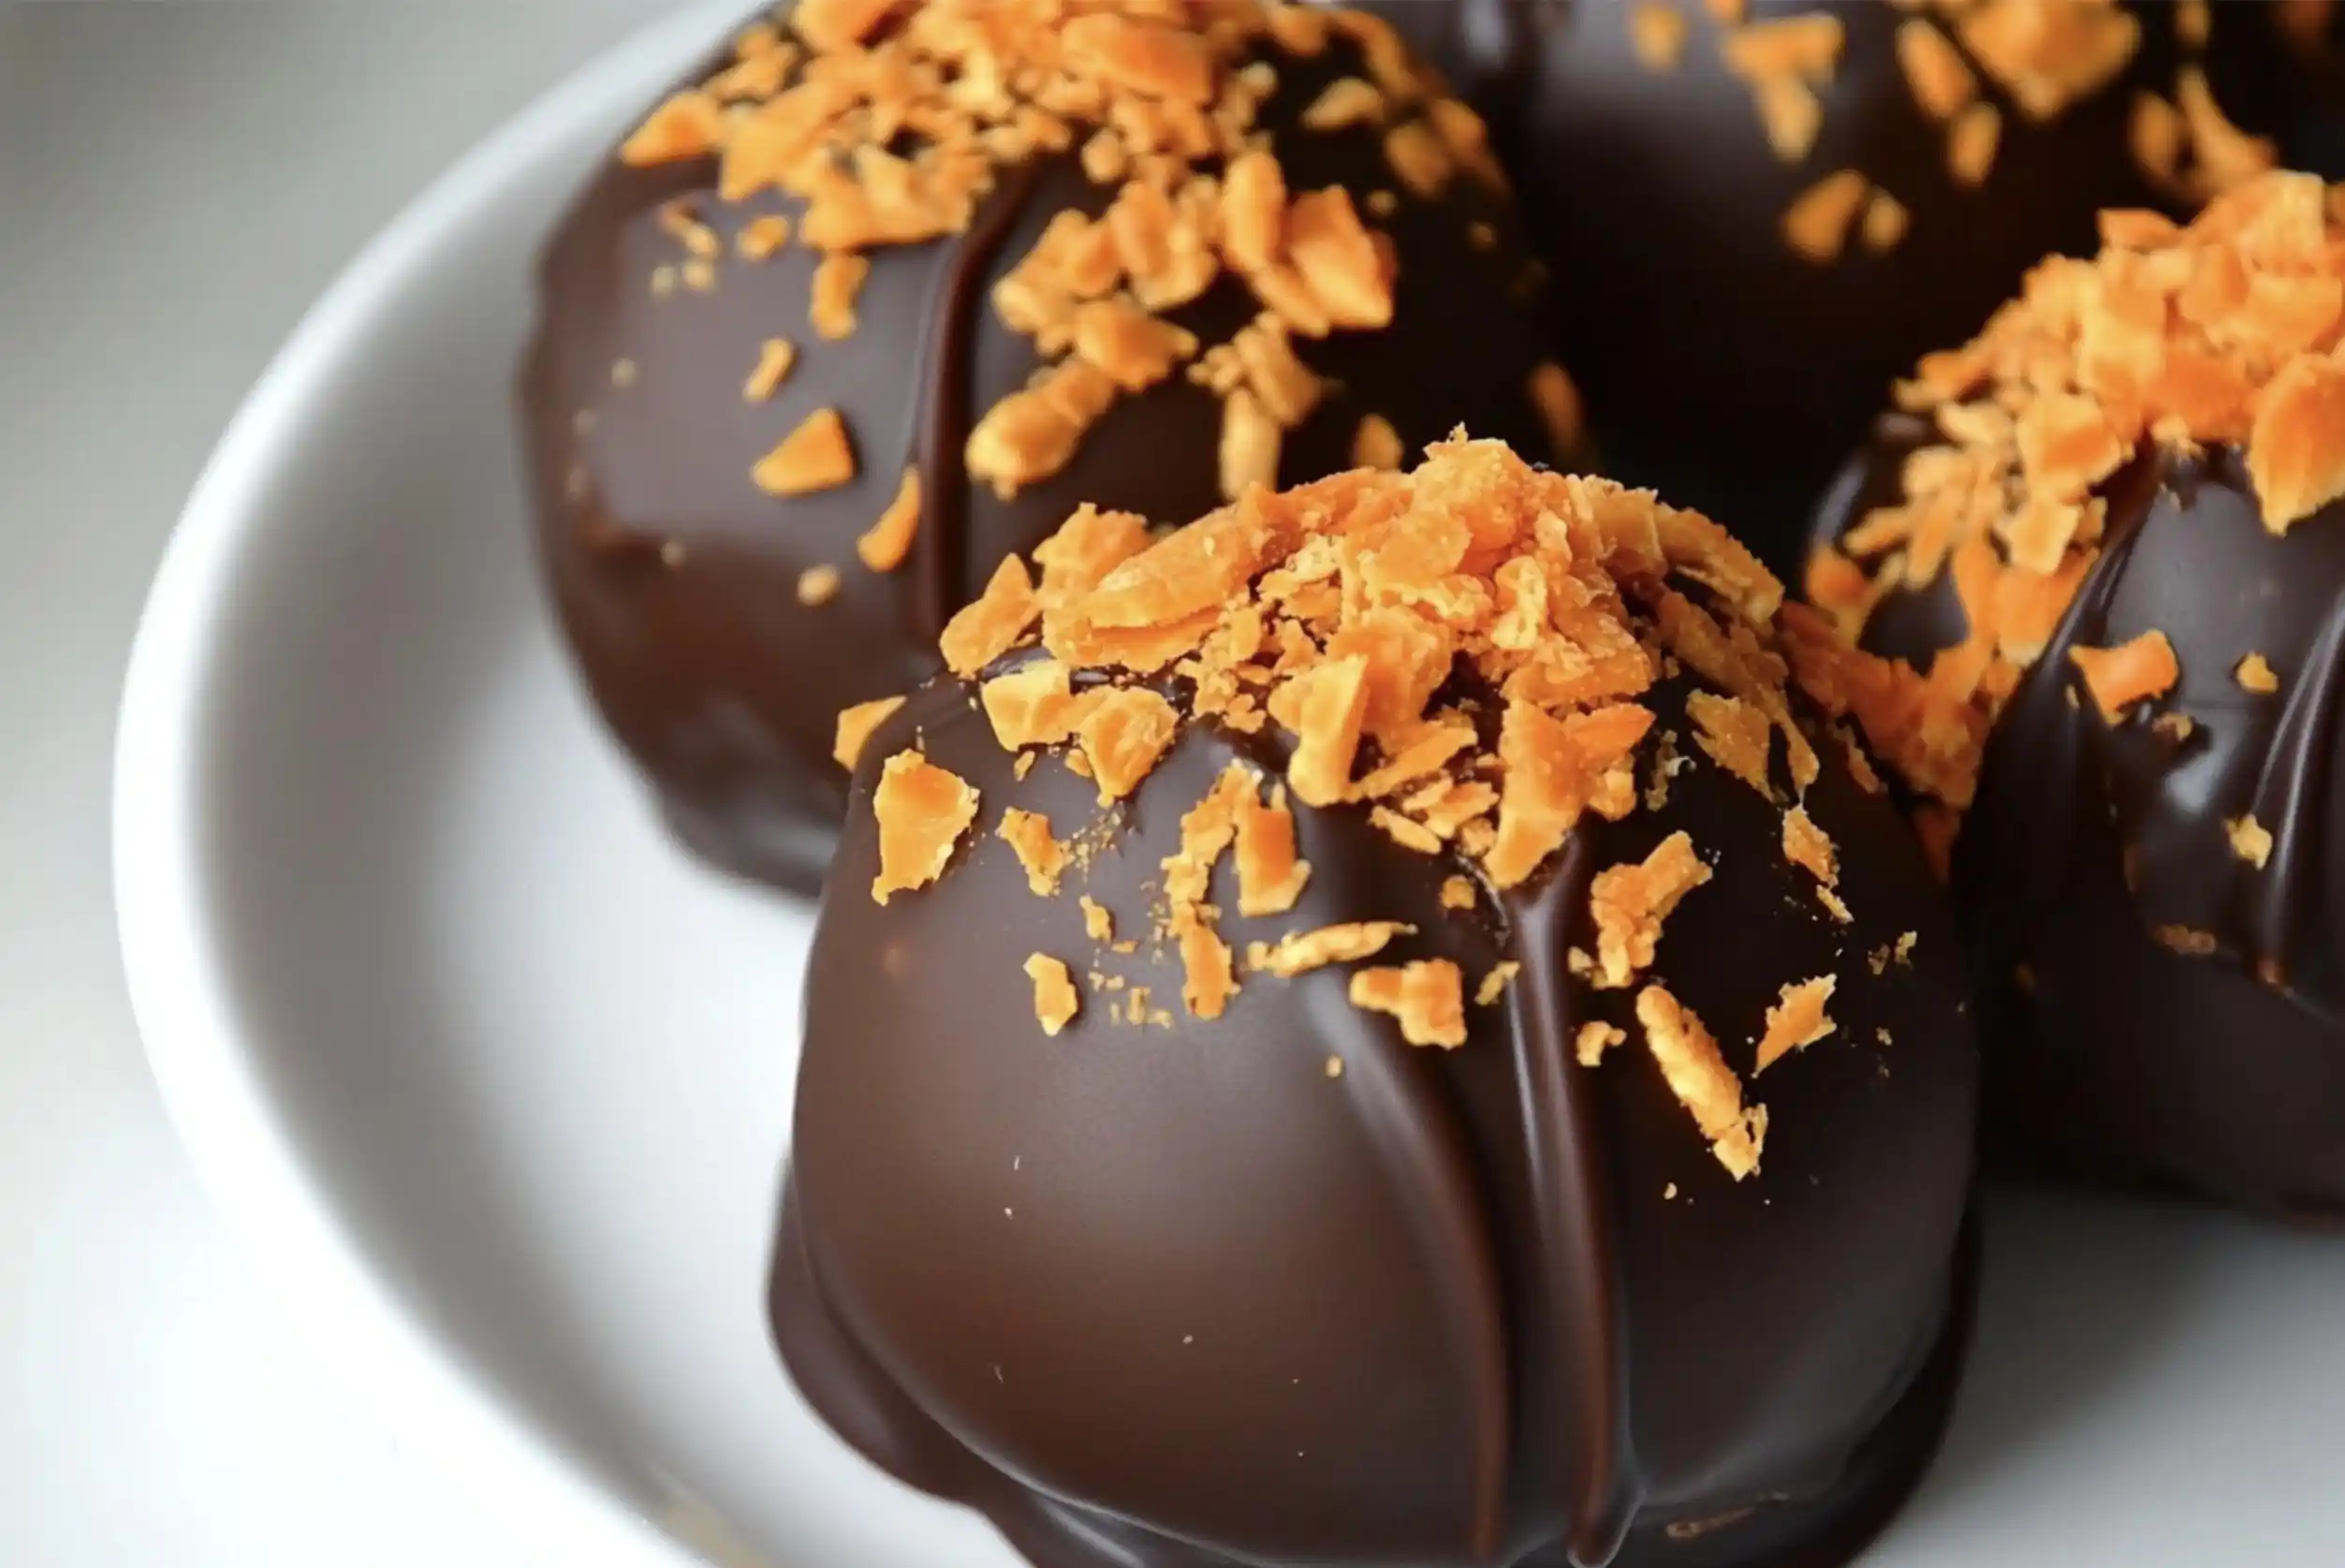
Making butterfinger balls at home is a fun journey that satisfies your sweet tooth. This easy recipe combines chocolate’s richness with peanut butter’s nuttiness. The result is a treat with a crunchy outside and a creamy inside, perfect for a satisfying bite.
Even if you’re new to cooking, making these chocolate peanut butter balls is easy. With just a few ingredients, you can create treats that wow everyone. Follow the steps, and you’ll enjoy your own crunchy and creamy butterfinger balls.
Why You’ll Love This Butterfinger Balls Recipe
This Butterfinger Balls recipe mixes the creamy flavors of chocolate and peanut butter. It’s a delicious dessert idea that will make your taste buds happy. The sweet and salty mix is so good, everyone will love it.
Making these no-bake treats is super easy. You don’t need to use the oven. This makes it perfect for busy days or when you’re in a hurry.
Butterfinger Balls are great for any event. They’re perfect for parties, holidays, or just a sweet treat. Their beautiful look and tasty flavor will wow your guests. These chocolate desserts are so good, people will always want more.
Ingredients Needed for Butterfinger Balls
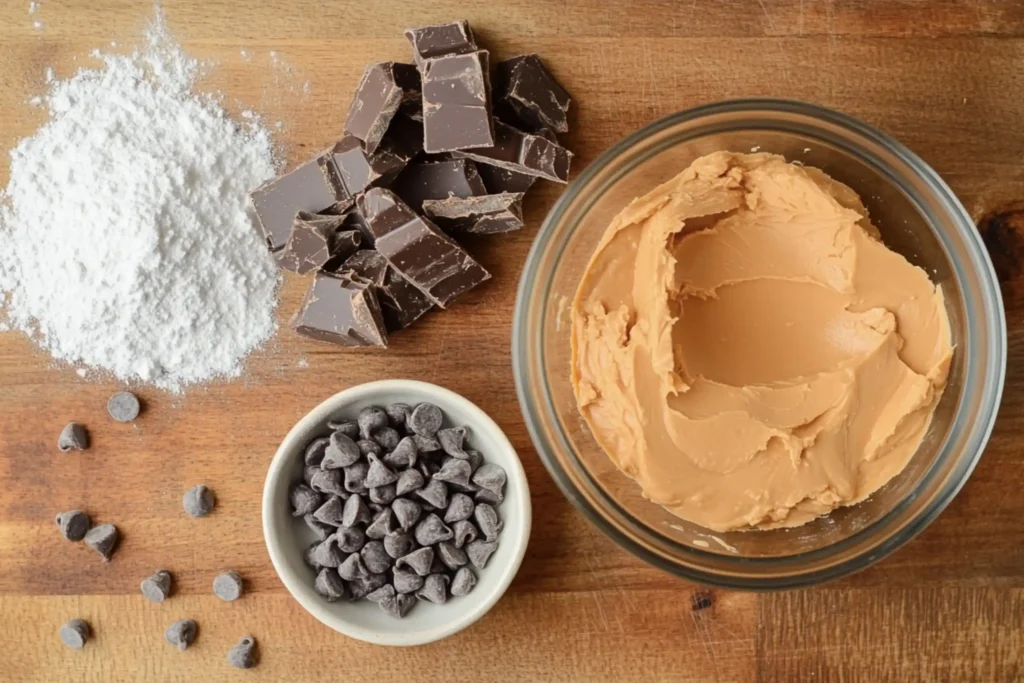
Making the perfect butterfinger balls recipe starts with the right ingredients. Each part is key to getting that perfect mix of chocolate and peanut butter. Here’s what you’ll need for this homemade treat:
| Ingredient | Purpose |
|---|---|
| 1 cup Peanut Butter | This is the base flavor, providing richness and creaminess. |
| 1 ½ cups Powdered Sugar | Sweetens the mixture and helps in binding the ingredients together. |
| 2 cups Crushed Butterfinger Bars | Adds a crunchy texture and delicious butterscotch flavor. |
| 2 cups Semi-Sweet Chocolate Chips | Coating for the balls, delivering a rich chocolatey finish. |
| 1 tablespoon Coconut Oil | Helps to smooth out the chocolate for an even coating. |
These ingredients come together to make the delicious chocolate peanut butter balls everyone adores. By knowing what each ingredient does, you can make this homemade candy your own.
Step-by-Step Instructions for Making Butterfinger Balls
Making your own butterfinger balls is easier than you think. Just follow these simple steps to create a no-bake dessert that will wow everyone.
- Gather Your Ingredients: Make sure you have everything ready. You’ll need crushed Butterfinger bars, peanut butter, graham cracker crumbs, and chocolate for coating.
- Mix the Base: In a medium bowl, mix the crushed Butterfinger bars, peanut butter, and graham cracker crumbs. Stir until it forms a dough-like consistency.
- Shape the Balls: Take a small amount of the mixture and shape it into a ball, about 1 inch in diameter. Keep doing this until all the mixture is used up.
- Chill the Balls: Put the shaped balls on a baking sheet lined with parchment paper. Refrigerate them for about 30 minutes to firm them up.
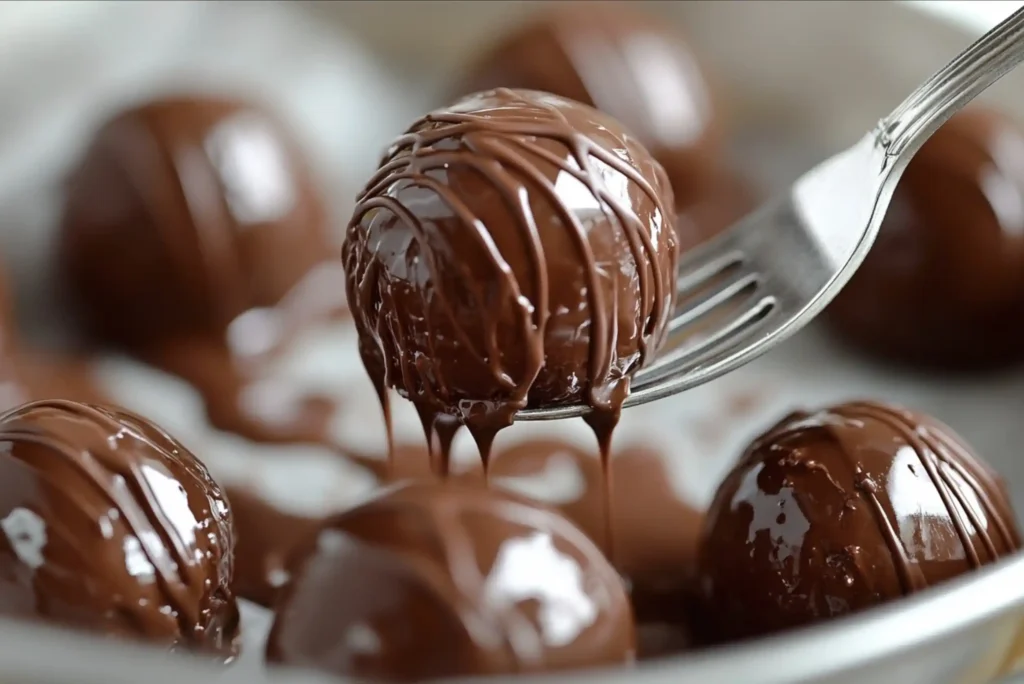
- Melt the Chocolate: While the balls chill, melt your chocolate in the microwave or a double boiler. Stir often to avoid overheating and ensure a smooth texture.
- Dip the Balls: Once the balls are chilled, dip each one into the melted chocolate, making sure they’re fully coated. Use a fork to lift them out and let the extra chocolate drip off.
- Let Them Set: Place the chocolate-coated balls back on the parchment paper. Let the chocolate set at room temperature or speed up the process by putting them in the fridge.
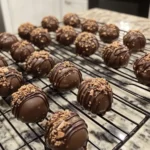
- Enjoy! Your butterfinger balls are now ready to serve. Share this easy dessert with your loved ones!
Tips for Making Perfect Chocolate Peanut Butter Balls
Making delicious Butterfinger Balls is fun with the right tips. Make sure the peanut butter is creamy for smooth blending. Refrigerating the mix for 30 minutes helps prevent stickiness.
Choose high-quality chocolate chips for the best taste. You can melt chocolate in a microwave or on the stovetop. Stir constantly to avoid burning. Adding coconut oil or shortening gives a shiny finish.
Roll the balls in crushed nuts or sprinkles for extra flavor. A fork makes coating even and easy. Letting kids help makes it a fun family activity.
| Tip | Description |
|---|---|
| Chill the Mixture | Refrigerate the peanut butter mixture for 30 minutes to prevent stickiness. |
| Use High-Quality Chocolate | Opt for semi-sweet or milk chocolate chips for a richer flavor. |
| Add Coconut Oil | Incorporate a tablespoon of coconut oil for a glossy finish. |
| Decorate with Toppings | Roll in crushed nuts or sprinkles for added flavor and visual appeal. |
| Involve Kids | Make it a fun activity by having kids help in rolling and decorating. |
butterfinger balls recipe
The Butterfinger Balls recipe is a delightful treat that combines chocolate and peanut butter flavors. It’s easy to make, perfect for whipping up a homemade candy that everyone will love.
Here’s a quick overview of the necessary ingredients and their measurements to create this delicious dessert idea:
| Ingredient | Measurement |
|---|---|
| Crushed Butterfinger bars | 1 cup |
| Creamy peanut butter | ½ cup |
| Powdered sugar | 1 cup |
| Chocolate chips | 2 cups |
| Shortening | 1 tablespoon |
The preparation of this homemade candy recipe involves a few simple steps:
- Mix the crushed Butterfinger bars, peanut butter, and powdered sugar until well combined.
- Form the mixture into small balls and chill in the fridge for about 30 minutes.
- Melt the chocolate chips and shortening together.
- Dip each chilled ball into the melted chocolate, covering entirely.
- Place the chocolate-covered balls on a baking sheet lined with parchment paper and let them cool until the chocolate sets.
Follow these steps, and you’ll indulge in a fantastic homemade treat. It’s perfect for any occasion or a special surprise. Enjoy crafting this delicious dessert idea for your next gathering!
Serving Suggestions for Your Sweet Treats
Turn your Butterfinger balls into a stunning centerpiece or delightful favor. Thoughtful serving suggestions make them more appealing. They become a joy to share with everyone.
At parties, place the Butterfinger balls on decorative platters or glass jars. Use colorful napkins and themed decorations to boost the look. You can also use cupcake liners for a neat display that guests will adore.
When giving as gifts, put the treats in clear cellophane bags with vibrant ribbons. This keeps them fresh and adds a personal touch. A simple tag with a sweet note or instructions can make it even more special.
At themed events, get creative with your presentation. For Halloween, add spooky decorations. For birthdays, use colorful sprinkles or edible glitter. Your imagination can make your treats truly special.
Storage Tips for Your Homemade Candy
To keep your Butterfinger Balls fresh, follow some key storage tips. Proper storage helps your homemade candy stay flavorful and textured for longer. Let the treats cool completely at room temperature before storing them.
Use an airtight container to store your Butterfinger Balls. This keeps them away from moisture and other factors that could affect taste. Store them in a cool, dry place, away from sunlight. If you won’t eat them in a week, refrigerate them to keep them fresh.
Freezing is a good option if you want to keep them longer. Wrap each piece in plastic wrap or foil before putting them in a freezer-safe bag. This prevents freezer burn and keeps your candy quality high.
Using these storage tips can greatly extend the life of your Butterfinger Balls. Remember, better storage means more enjoyment with each bite.
| Storage Method | Recommended Duration | Notes |
|---|---|---|
| Airtight container at room temperature | Up to 1 week | Keep in a cool, dry place. |
| Refrigerator | 2-3 weeks | Airtight container recommended. |
| Freezer | 3 months | Wrap individually for best results. |
Variations of Butterfinger Balls Recipe
Exploring different versions of the classic butterfinger balls recipe is exciting. You can change this chocolate dessert to fit various tastes and diets. Here are some fun options to try:
- Gluten-Free Version: Use gluten-free graham cracker crumbs or crushed gluten-free cookies. This keeps the texture great without losing flavor.
- Nut-Free Alternative: If you’re allergic to nuts, try sunbutter or pumpkin seed butter. They offer a creamy feel similar to peanut butter.
- Flavor Infusions: Add vanilla extract or a bit of almond for a new taste. It’s a great way to spice up your butterfinger balls.
- Coconut Twist: Mix in shredded coconut for a tasty tropical flavor.
- Mini Chocolate Chips: Adding mini chocolate chips before coating makes your dessert even richer and more textured.
These changes keep the classic treat’s charm but make it perfect for any event. Have fun finding your favorite way to make butterfinger balls!
Holiday Treats: Making Butterfinger Balls for Celebrations
Butterfinger Balls are a hit for holiday treats. They mix peanut butter and chocolate, pleasing everyone. This recipe is easy to add to your holiday menu, impressing all with little effort.
Adding festive touches makes them even more fun. Try using holiday wrappers or sprinkles on top. These extras make them look great and add to the holiday feel. You can also put them in pretty boxes or jars for gifts or exchanges.
These treats also go well with other holiday foods. They pair great with cookies, cakes, or hot cocoa. Adding them to your dessert table offers a variety that everyone will enjoy.
Getting creative with flavors and looks makes your celebration special. Whether it’s a big party or a small get-together, customizing the recipe makes it unforgettable. These treats are delicious and fit any holiday event perfectly.
Final Thoughts
Making your own Butterfinger Balls is more than just a tasty treat. It’s a chance to enjoy the happiness of homemade goodies. This recipe is easy and doesn’t need baking, making it perfect for any time.
When you share these treats with friends and family, you create special moments. The mix of creamy peanut butter and chocolate is a hit with everyone. Feel free to try new things each time, making it your own.
We invite you to try this recipe and share your stories. Join others who love making these no-bake desserts. See how they can make any gathering unforgettable.
FAQ
What is the best way to store Butterfinger Balls?
To keep your homemade Butterfinger Balls fresh, store them in an airtight container. Place it in a cool, dry spot. For longer storage, refrigerate them for up to two weeks.
Can I make Butterfinger Balls gluten-free?
Yes, making Butterfinger Balls gluten-free is possible. Use gluten-free chocolate chips and ensure the crushed Butterfinger bars are gluten-free. This way, everyone can enjoy these treats!
How long does it take to prepare Butterfinger Balls?
Making Butterfinger Balls is quick. You’ll spend about 15-20 minutes mixing and rolling them. Plus, an hour in the fridge for chilling.
Can kids help make Butterfinger Balls?
Yes, kids can definitely help with this recipe. They can mix ingredients and roll the balls. It’s a fun activity for the whole family.
What occasions are Butterfinger Balls suitable for?
Butterfinger Balls are great for many occasions. Enjoy them at birthday parties, family gatherings, and holiday celebrations. They also make wonderful gifts!
Can I add other ingredients to Butterfinger Balls?
Yes, you can add your own twist to Butterfinger Balls. Try adding chopped nuts, mini marshmallows, or other candies. It’s a fun way to make this dessert your own.
Are Butterfinger Balls a no-bake dessert?
Yes, Butterfinger Balls are a no-bake dessert. They’re perfect for quick, easy preparation without needing an oven!
What is the flavor profile of Butterfinger Balls?
Butterfinger Balls have a great mix of chocolate and peanut butter. They offer a creamy inside and a crunchy outside. Each bite is a sweet and salty explosion of flavor.
Butterfinger Balls Recipe
- Total Time: 45 mins
- Yield: 20–24 balls 1x
Description
Crunchy, Chocolatey & Irresistible!
Ingredients
- 1 ½ cups crushed Butterfinger bars
- 1 cup creamy peanut butter
- ½ cup unsalted butter, softened
- 2 cups powdered sugar
- 12 oz chocolate melting wafers (or semi-sweet chocolate chips)
- 1 tbsp coconut oil (optional, for smoother chocolate)
Instructions
Prepare the Mixture:
- In a bowl, mix peanut butter, butter, and powdered sugar until smooth.
- Stir in crushed Butterfinger bars until well combined.
Shape & Chill:
- Roll the mixture into 1-inch balls and place them on a lined baking sheet.
- Chill in the freezer for 20-30 minutes to firm up.
Melt the Chocolate:
- Melt chocolate wafers (or chocolate chips with coconut oil) in the microwave in 30-second intervals, stirring in between.
Dip & Set:
- Using a fork or toothpick, dip each ball into the melted chocolate, letting the excess drip off.
- Place back on the parchment-lined tray and sprinkle extra Butterfinger crumbs on top (optional).
- Let them set in the fridge for 15 minutes until firm.
Enjoy! Store in an airtight container in the fridge for up to a week.
- Prep Time: 15 mins
- Chill Time: 30 mins
Nutrition
- Serving Size: 20-24 balls